Embarking on a knitting project requires more than just skill and creativity; understanding the knitting gauge chart is fundamental for achieving the right fit. This article delves into the intricacies of the gauge chart, a crucial tool for ensuring your knitted garments are perfectly sized.
Whether you’re crafting a sweater, a vest, or a skirt, mastering the gauge chart is key to replicating the pattern accurately and achieving a professional finish.
Understanding the Knitting Gauge Chart
The gauge chart is an indispensable component for size-specific patterns. It’s a critical step that must be followed for nearly every project, emphasizing the importance of replicating the pattern exactly as it’s intended. The gauge chart is essentially a guide that specifies the number of stitches per inch required to achieve an accurate size in the final garment. While some items like scarves or potholders may not require strict adherence to gauge, for most projects, it’s a vital step.
Terminology Brief: Gauge and Swatch
Before diving deeper, it’s important to understand two key terms:
- Gauge: This refers to the number of stitches per inch needed to accurately size a garment. It’s expressed as a set of numbers on the knitting pattern;
- Swatch: This is the actual knitted sample that’s used to measure and verify the correct gauge.
The Importance of a Knitting Gauge
Every knitter has a unique tension, which can range from very loose to very tight. The tension affects how the yarn is held and the final size of each stitch. Matching this personal tension to the tension of the pattern creator is crucial. If the gauge is not accurately followed, the finished product may not resemble what’s shown in the pattern’s images, leading to potential disappointment.
The Objective of Knitting a Swatch
The main aim of knitting a swatch is to align the horizontal stitch and vertical row counts with those listed in the pattern’s gauge. Factors like tension, needle size, and yarn weight influence stitch size. An accurate swatch ensures that the final project fits as intended by the pattern creator.
For a swatch to be precise, it must be knit using the stitch pattern specified in the gauge.
Gauge as a Starting Point
Gauge serves as a guideline, particularly important for beginners and even experienced knitters, to determine the right needle and yarn weight. Without a gauge, the process becomes a guessing game with unpredictable outcomes.
Interpreting Gauge Patterns
Gauge patterns are often listed in various formats, but they essentially convey the same information using different references:
- 8 stitches and 11 rows = 1 inch (2.5 cm) in stockinette stitch;
- 22 stitches/4 inches on US 6 (4mm) needles;
- 17.5 stitches and 26 rows = 4 inches in St st or needle size needed to obtain gauge.
Understanding these statements requires a deeper knowledge of gauge implications.
Why Measure More Than an Inch?
Yarn weight, needle size, and tension combinations may not always align perfectly with one-inch increments. Measuring over a larger area accounts for partial stitches and ensures greater accuracy.
The knitting gauge chart is more than just a set of numbers; it’s a foundational tool for ensuring your knitted creations are beautifully tailored and sized correctly. By understanding and accurately applying the gauge chart, your projects will not only look professional but also fit precisely as intended, bringing satisfaction in every stitch.
Adjusting Tension for Consistent Stitching
When two crafters, one with a tighter stitching style and another with a looser approach, embark on the same pattern, they face a common challenge. They each create a test piece using the specified needles. The one with a tighter technique finds they have fewer stitches per inch than the pattern’s specified measurement, while the looser knitter discovers their stitch count is higher. The dilemma arises – how to adjust?
Patterns often suggest a needle size “or the needle size needed to obtain the correct measurement.” The key to resolving this lies in understanding the relationship between needle size and yarn.
Key Points for Adjusting Tension:
- If your test piece aligns perfectly with the pattern’s specifications, rejoice! You’re ready to proceed without further adjustments;
- If your test piece has fewer stitches per inch, switch to a smaller needle size;
- Conversely, if your test piece has more stitches per inch, opt for a larger needle size.
Harmonizing Yarns & Needles
A quick rule of thumb to determine the appropriate yarn for a needle size is to fold the yarn in half – its thickness should roughly match the needle’s diameter. This approximation helps in achieving a well-balanced fabric, neither too tight nor too loose, avoiding an overly stiff or lacy appearance. Remember, this is a guideline, not a strict rule.
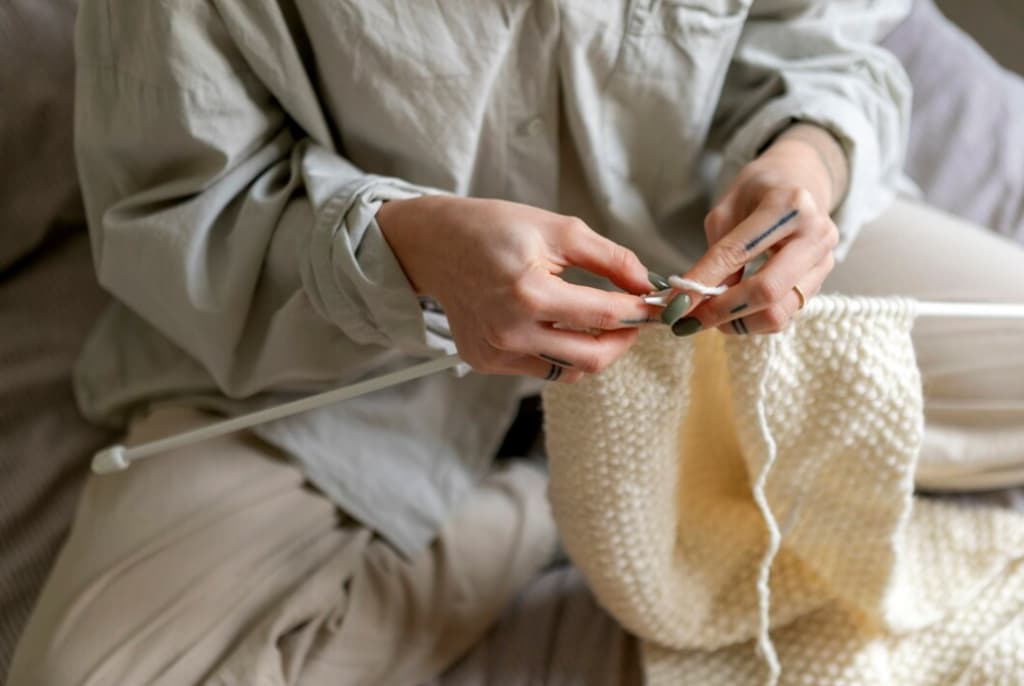
Crafting an Effective Test Piece
The numbers on the pattern are targets, but when creating a test piece, one must account for the peculiarities of knitted fabric. Since each edge of the piece influences the fabric, it’s advisable to add extra stitches and rows to ensure the core of your test piece accurately represents the desired measurement.
For instance, if a pattern calls for 5 stitches and 4 rows per inch, add an extra inch worth of stitches and rows to your test piece to offset the edge influence.
Consequences of Inappropriate Needle and Yarn Choices
Using a needle too small for your yarn can result in a stiff fabric that’s challenging to work with. A personal experience underscores this: an attempt to force a solid yarn onto smaller needles for a hat resulted in a garment that was too rigid and barely wearable. Conversely, using needles too large for your yarn can create a lacy fabric – great if that’s the desired effect, but not ideal for more solid fabrics.
Deciphering Yarn Labels – Pattern Gauge Reference
Most yarn labels provide some guidance on weight and needle size, often including stitch and row counts for achieving the correct measurement. Store-bought yarns typically offer more detailed information, while hand-dyed or small-batch yarns might be less specific. Understanding these labels is crucial for selecting the right materials for your project.
Perfecting Measurements with Blocked Swatches
The process of blocking a swatch involves wetting or washing the fabric, gently removing excess water, and then laying it out carefully without stretching or distorting its shape. Using pins to secure edges and corners on a soft surface ensures the fabric maintains its intended dimensions. This is an essential final step in achieving a professional look for handknits. To choose the appropriate blocking method, follow the laundering instructions on the yarn label.
Example gauge for reference: 26 stitches and 36 rows equate to 4 inches in stockinette, worked in the round. Note that the technique for creating a swatch should match how the final piece is to be knitted—flat for flat patterns and in the round for circular patterns.
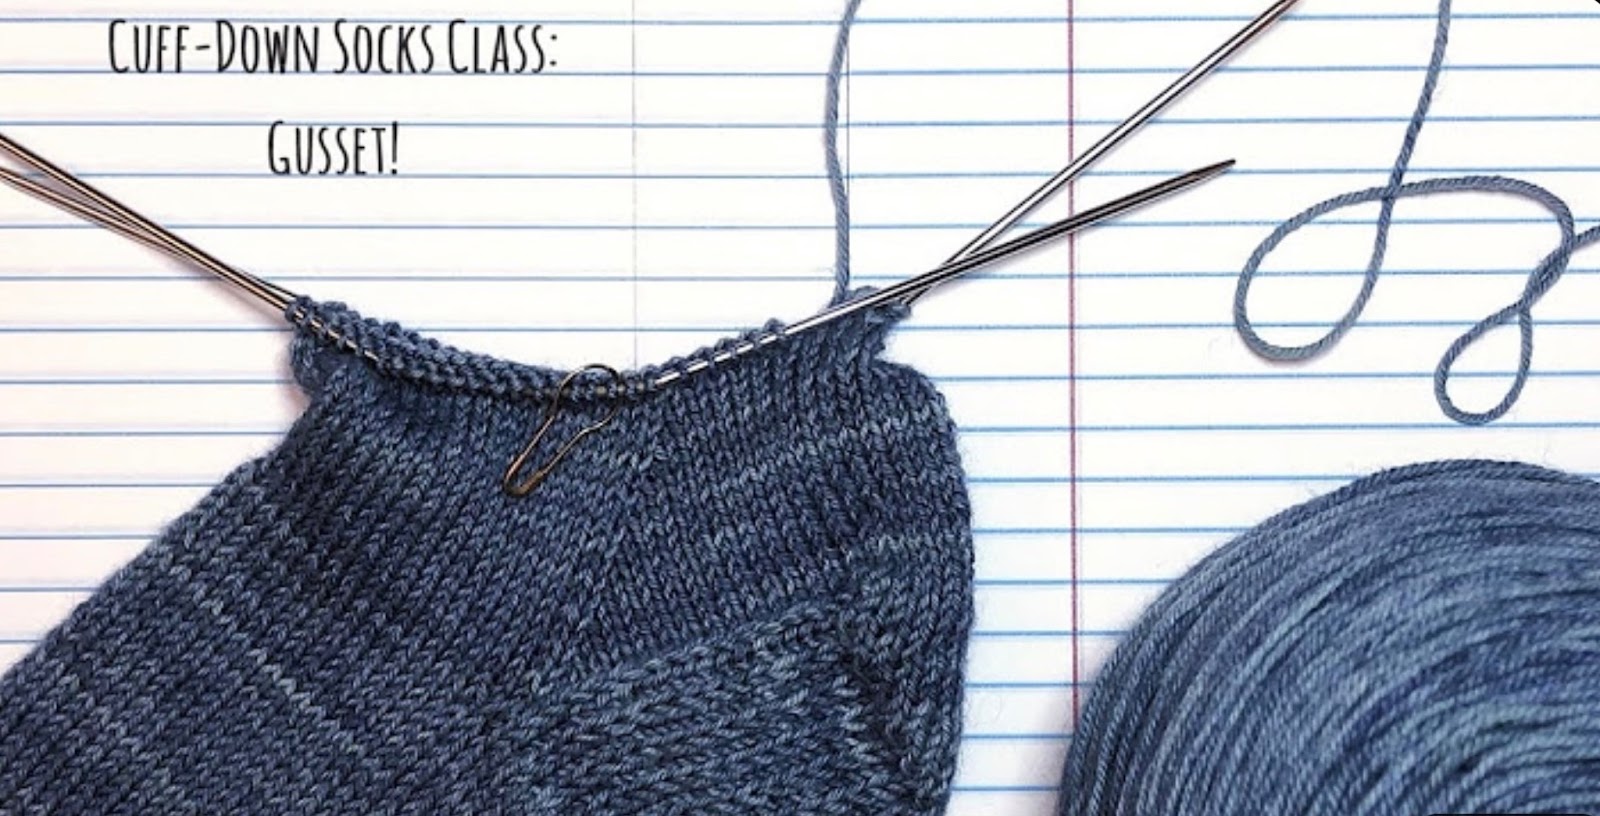
Techniques for Crafting a Round Stockinette Stitch Swatch
Stitching habits vary significantly between flat and round knitting. Flat knitting involves both knit and purl stitches, each with slightly different dimensions, while round knitting consists solely of knit stitches. These small differences in stitch size can drastically alter the outcome over numerous stitches.
To maintain consistent row spacing in round knitting, a useful tip is to place a marker at the beginning of each new row. This helps in establishing a uniform tension and ensuring the correct spacing between rows, crucial for accurate measurements.
Creative Uses for Leftover Swatches
Unravel and reuse the yarn in the main project, particularly if yarn quantity is a concern.
Utilize as holders for needles and other small items in a notions pouch.
- Repurpose as pockets for other projects;
- Piece together to create a larger blanket;
- Craft into unique, mismatched coasters.
Additional Considerations When Crafting Swatches:
- Doing the Math: If the fabric of the swatch is appealing but does not match the specified measurements, adjustments can be made, although this requires more advanced skills. Focus more on matching stitch counts rather than row counts, as many designs specify lengths of knitting rather than specific row numbers;
- Yarn Substitution: Understanding the relationship between needle size and yarn weight allows for effective yarn substitution in patterns. When the specified yarn is unavailable, too costly, or not to your personal taste, compare the pattern’s measurements with those suggested on alternative yarn labels. Adjusting needle size to match the gauge can lead to successful substitutions.
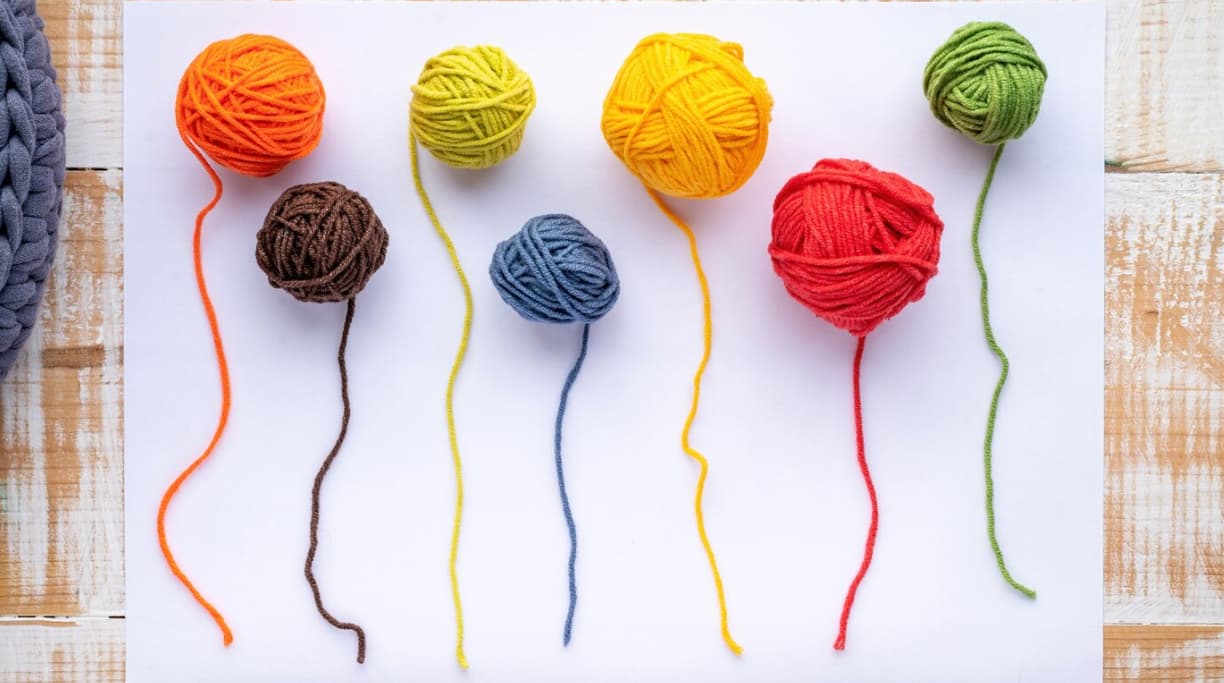
Exploring Yarn Weights and Needle Combinations
Different yarn weights and needle sizes can dramatically impact the final texture and appearance of the knitted fabric. Here are some considerations:
- Lightweight Yarns: Ideal for delicate, intricate patterns. They often require smaller needles to maintain tightness in stitches;
- Medium Weight Yarns: Versatile and suitable for a wide range of projects, from garments to home décor;
- Heavyweight Yarns: Best for robust, warm items like blankets and winter wear. Larger needles are typically used to give a looser, cozier feel.
Experimenting with different combinations can lead to unique textures and fabric properties, enhancing the creativity of your knitting projects.
Importance of Consistent Tension in Knitting
Maintaining a consistent tension throughout a knitting project is crucial for uniformity and accuracy in size. Here are some tips for achieving this:
- Practice Regularly: Consistency in tension comes with experience and regular practice;
- Use Tools: Stitch markers, row counters, and measuring tapes can aid in keeping track of your progress and maintaining uniformity;
- Mindful Knitting: Being aware of your knitting style and making adjustments as needed can lead to more consistent results.
Conclusion
Understanding and utilizing a knitting gauge chart is essential for achieving accurate sizes in your knitting projects. From crafting the perfect swatch to selecting the right yarn and needles for your project, each step is crucial in ensuring the final piece meets your expectations.
Remember to block your swatches for accurate measurements, consider yarn weight and needle size for your specific project, and always aim for consistent tension in your stitching. By taking these steps, your knitting projects will not only be more enjoyable to create but also more satisfying in their final form.