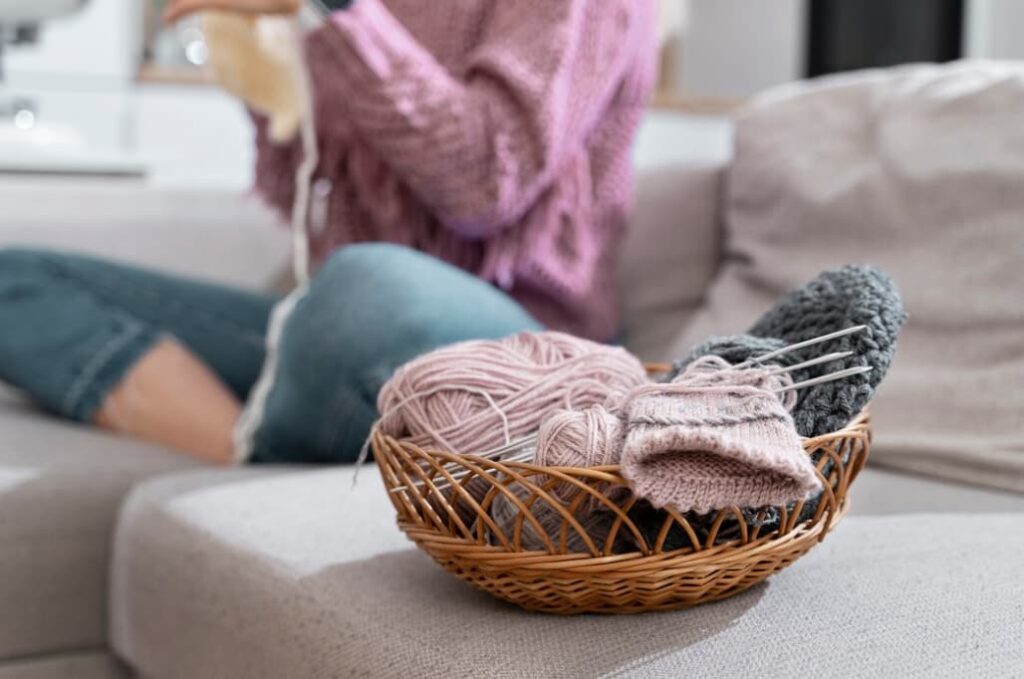
Welcome to the comprehensive guide designed for individuals passionate about knitting, specifically on crafting cuff-down socks. This guide unveils the secrets of knitting a perfect heel, with every stage simplified to facilitate your learning curve.
The Fundamentals of Short Rows
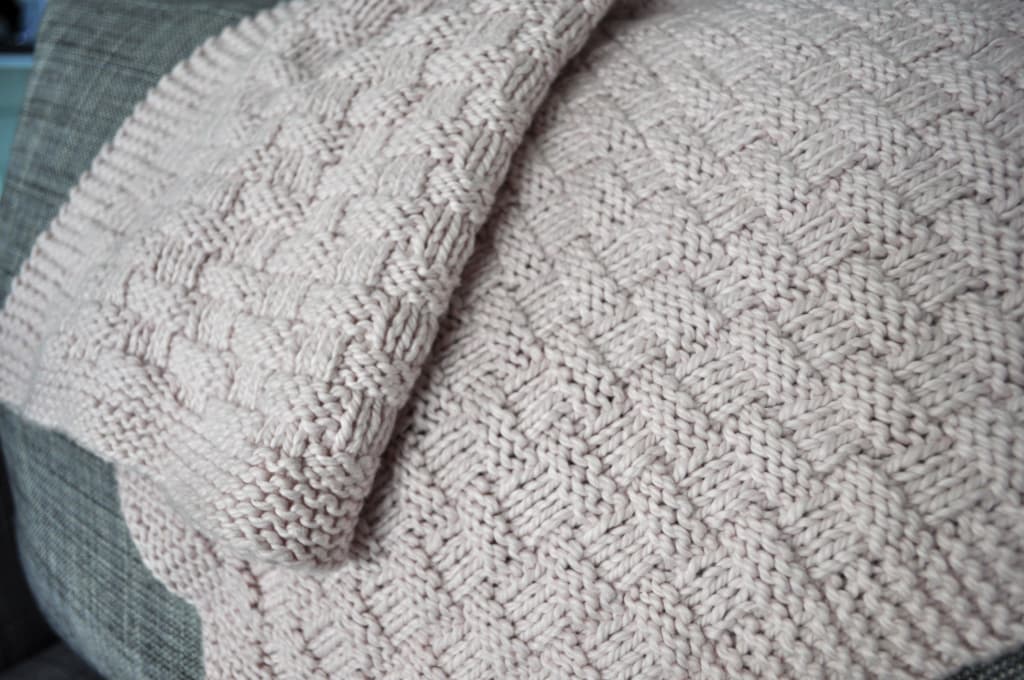
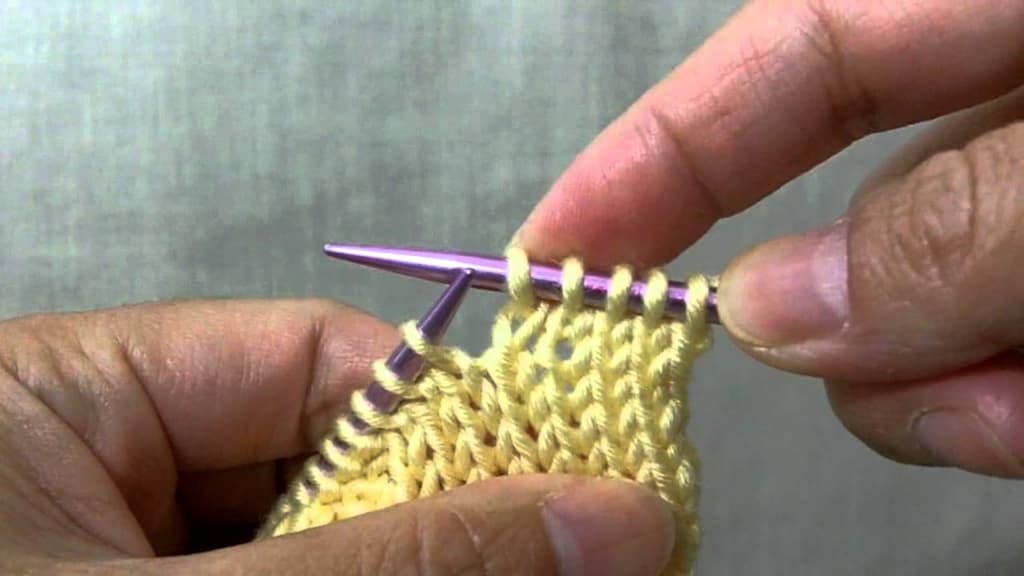
A key concept in the realm of knitting a sock’s heel is understanding “Short Rows”. In essence, a short row doesn’t involve working on each stitch in a row before reverting and working toward the other direction. While executing short rows, it is crucial to employ a unique technique to prevent inadvertent holes in the knitting. Of course, unless intentional holes are part of the design, they are generally unwanted in sock heels. As we delve into the art of crafting perfect cuff-down socks and expertly turning heels, it’s essential to start with the foundational stocking knit stitch, setting the stage for a seamless and comfortable sock-knitting experience.
The Purpose of Short Rows
The core reason behind using short rows in knitting the heel is essentially to compel the Heel Flap to fold onto itself. This is achieved by gradually reducing stitches, thereby shrinking the width with every row knitted. This step creates the perfect curvature or “cup” that comfortably accommodates the heel when donning the sock.
Basics of Heel Turn

The Heel Turn takes the spotlight in crafting the perfectly rounded heel of the sock. It offers comfort and an excellent fit to the foot. This is achieved through short-row shaping carried out on the live stitches remaining from the erstwhile completed heel flap.
Practical Steps for Working a Basic Heel Turn
Here, we provide the step-by-step instructions to perform a basic heel turn:
- Row 1 (RS): Knit a number of stitches equal to half of your Heel Flap stitches plus two, followed by a slip slip knit (ssk), knit 1, and then turn;
- Row 2 (WS): Slip 1, purl 5, purl 2 stitches together (p2tog), purl 1, and then turn;
- Row 3: Slip 1, knit to 1 stitch before the gap, ssk, knit 1, turn;
- Row 4: Slip 1, purl to 1 stitch before the gap, p2tog, purl 1, turn;
- Repeat Rows 3 and 4 until all heel stitches are worked on, ending on a WS row.
Note: Depending on the size you’re knitting, your final 2 rows might not require a knit 1 or purl 1 after the decreases.
After completing each row, remember always to slip your stitches as if to purl to avoid twisting them.
Understanding Gussets
Subsequently, it’s time to move on to the Gusset, the triangular section that aids in providing a perfect fit. Delving into the gusset and working on it effectively will be covered in detail in the next tutorial.
Knitting a perfect heel turn might seem challenging at first, but with practice and patience, you can achieve perfection. Always remember, “practice makes perfect”.
Conclusion
The craft of turning the heel in sock knitting may initially appear complex, but with our detailed guide, it becomes a breeze. The heel forms the cornerstone of comfort and fit, making the understanding of concepts like Short Rows, Heel Flap, and Gusset essential. The purposeful construction process ensures shape and sturdiness, allowing for daily use and durability.