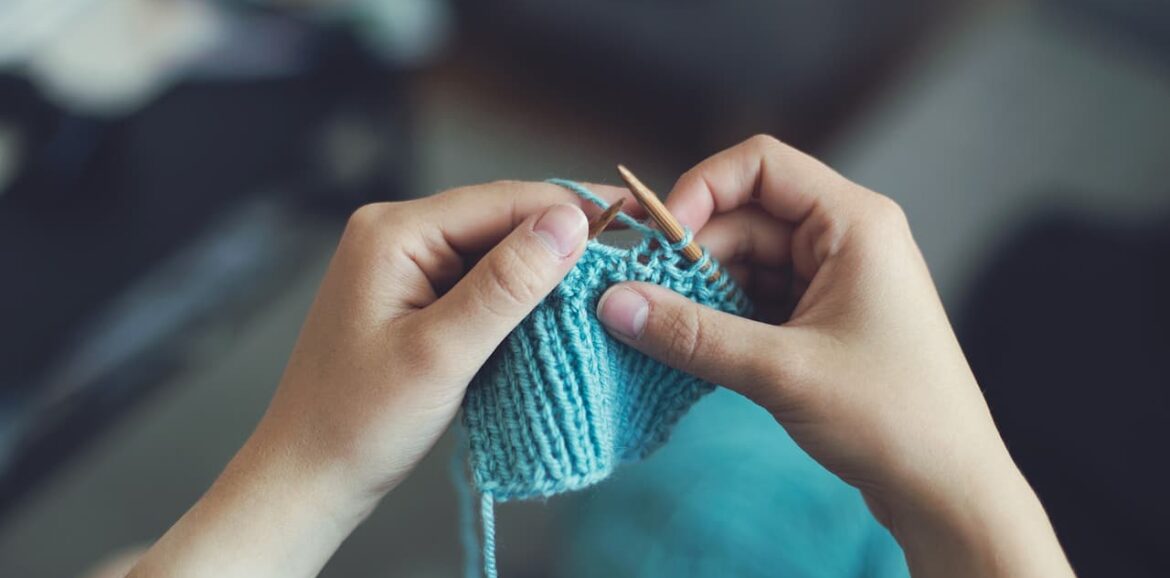
In this article, we’ll take a look at crochet for beginners step-by-step, plus – we’ll break down some simple patterns and descriptions suitable for beginners.
1. WHAT WILL BE NEEDED?
You will only need a hook and yarn.
1.1 Advice on choosing yarn for beginners:
- Choose a medium-thickness yarn, not too thin or too thick;
- Choose a smooth yarn, without lint;
- To begin with, choose light colours: it is more convenient to work with them.
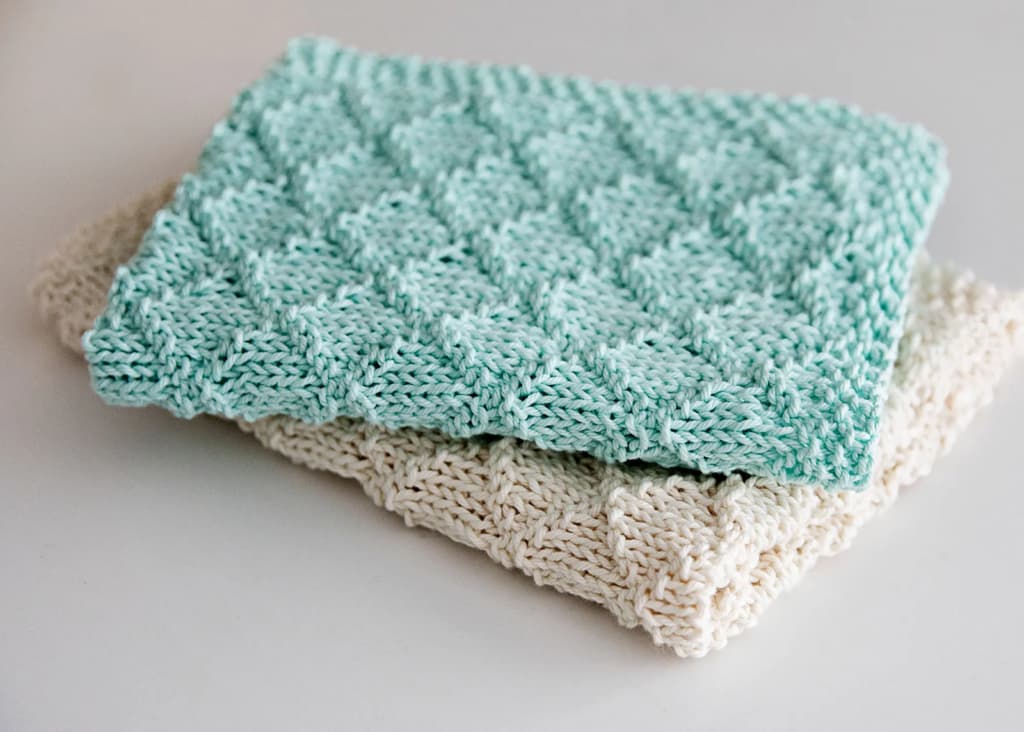
Read the masterclass at the link if you want to learn how to crochet a cushion. A simple round or square cushion is a great option for beginners!
1.2 Recommendations for choosing a hook:
Hooks come in different sizes/thicknesses, but also in shape and material. It is best to hold different hooks in your hand in an offline shop and choose the one that feels most comfortable in your hand.
For first projects, the average hook size is optimal: 4-5.
2. WHERE TO START: CROCHET FOR BEGINNERS
First, let’s learn a few basic concepts.
2.1 Starting or sliding loop
This is the loop that usually starts the work. To make it, pull out the yarn and make a loop, leaving a tail of a few centimetres. Thread the hook through the loop and catch the thread with it. Pull the thread through the loop and tighten: done!
2.2 Cast on
This element is often used in crochet. Thread the working thread onto the hook clockwise from back to front. Use the index finger of your left hand to wind the yarn around the hook, or use your right hand to turn the hook under the yarn.
2.3 Air loops
To knit an air loop, make an initial loop. Then make an overlap.
Pull the thread on the hook through the starting loop and the air loop is complete. Repeat as many times as needed according to the pattern description or diagram.
Make such a chain of 11 loops: 10 will be the base for our pattern, and 1 – an additional one, raising the knitting on the next row.
2.4 Non-overlapping stitch
Now let’s learn how to make a non-overlapping stitch. Skip one air loop and insert the hook into the second loop from the end.
Grab the thread and pull it through the loop.
Grab the thread again and pull it through two loops. Done! Repeat until you reach the end of the chain.
2.5 Starting a new row
Let’s learn how to start a new row.
To do this, turn the work over and make one air loop. You are ready to start a new row!
When making the second row, insert the hook under both halves of the loop. This is the classic method: inserting the hook only under the back or the front of the loop is possible.
The rest of the work follows the same principle as described above.
2.6 Semi-colon with overlap
This is another element often found in patterns. It is not difficult to learn how to do it.
Make an overlap.
Insert the hook under both sides of the loop of the previous row.
Grab the thread and pull it through the loops.
There are now three elements on the hook.
Hook the thread and pull it through all three.
It’s done.
2.7 Overlap stitch
This is a very common element in beginner’s patterns. It gives a slightly looser knitting than the overlapping stitch. It is quite easy to make.
Make an overlap.
Insert the hook under the two walls of the loop of the previous row, catch the thread and pull it out.
Grab the thread again and pull it through two of the three loops on the hook.
Grab the thread again and pull it through the two loops remaining on the hook. Done!
Since the overlapping stitch is longer than the non-overlapping stitch, it is usually necessary to make not one but two air loops to go up to the next row when knitting with overlapping stitches.
2.8 Two-overlap stitch
These stitches are even higher than the single-overlap ones, producing an even looser, less dense fabric. The element is made on the same principle as the single-overlap column, just add a second overlap – moreover, according to the same scheme you can make a three-overlap column, adding, respectively, the third overlap.
Let’s learn how to make a two-overlap stitch.
Thread the yarn on the hook twice. Then insert the hook under both sides of the loop of the previous row.
Grab the yarn and pull it out. Then make another cast-off.
Pull the yarn through the two left loops on the hook. Then make another cast-on and pull the thread through the two left-hand loops on the hook again.
Done!
You must make 3-4 air loops to go up to the next row.
2.9 How to knit in the round
You can knit in the round using both stitches, half stitches, single and double stitches and so on.
First you must learn how to make a “magic ring”. To do this, wind off the yarn and slip it over your fingers, crossing the ends of the yarn on the inside of your fingers.
Hold the thread with the thumb of your left hand, turn your hand over and bring the hook under the right thread.
Grasp the left thread and pull out the loop.
Grab the thread again and pull it through the loop you just made.
Make as many stitches as you need according to the pattern.