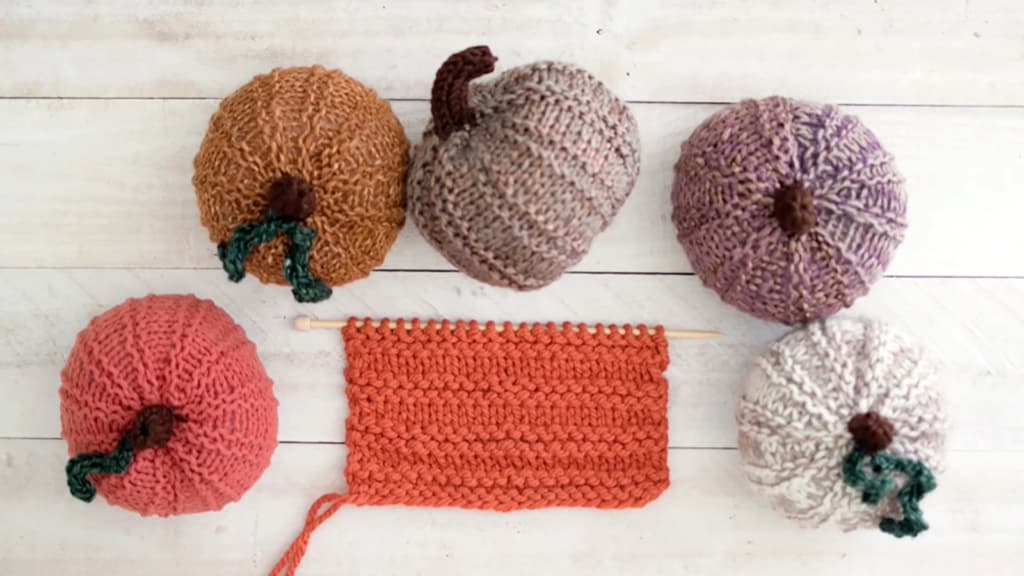
Knit pumpkins are a charming and cozy addition to autumn decorations. Their soft texture and the ability to customize them in various sizes, colors, and textures make them a versatile choice for any style. They are an enjoyable and fulfilling project for knitters at all skill levels, resulting in a decorative piece that adds a personal touch to any space.
The allure of knitting pumpkins is undeniable. Whether opting for a velvet texture or exploring other yarn types, the craft captures the imagination and creativity of knitters. This guide presents a range of knitting patterns and detailed instructions for creating pumpkins of all sizes, from the charmingly petite to the impressively grand. Additionally, it includes expert tips for designing unique patterns, ensuring that each creation is as unique as its maker. Dive into the inviting and creative world of pumpkin knitting and enjoy crafting these delightful autumnal decorations.
Guide to Crafting Hand-Knitted Pumpkins for All Seasons
Crafting the Pumpkin Form:
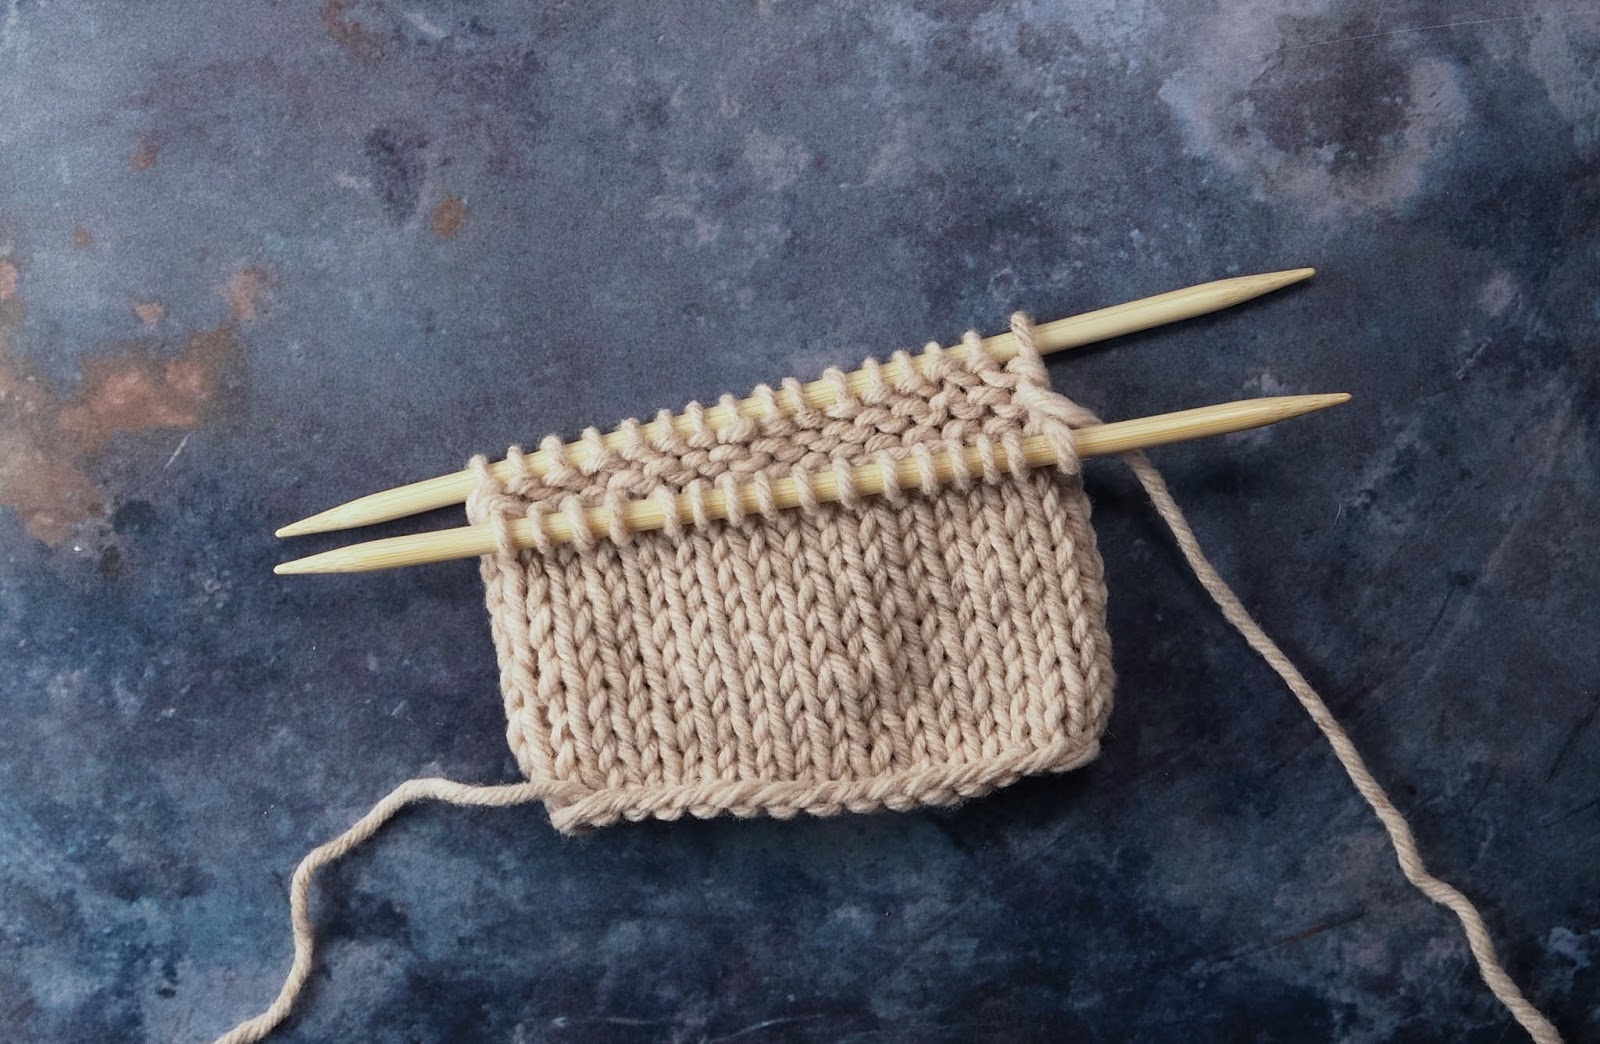
To begin your pumpkin crafting journey, you’ll start with the fundamental knitted shape: a tube. This can be achieved by knitting in a round or by knitting a flat piece and stitching it together. The method you choose is entirely up to your comfort level. However, it’s good to remember that if you opt for seaming, your pumpkin may have a more defined “front” and “back” depending on the seam’s neatness.
Once your tube is ready, you’ll gather and close both the top and bottom ends, filling the shape with your choice of stuffing material—fiberfill, fabric scraps, or even repurposed crumpled paper. Then, it’s time to add the stem. You might decide to craft a collection of pumpkins in varying sizes for a tiered display.
The Charm of Cinnamon Stick Stems:
There’s something special about using a cinnamon stick for the stem of your knitted pumpkin. Not only does it add an extra layer of charm and a touch of realism, but the scent of cinnamon enhances the sensory experience. Attaching the stem with a dab of hot glue is not only secure but also a delightful process. The cutting of the cinnamon stick, coupled with the warm glue, helps to release that spicy, sweet aroma, infusing your craft with the essence of fall or any festive season. Enhance your fall knitting projects by incorporating the classic Welt Stitch – a must-learn technique for beginners.
Crafting Hand-Knitted Pumpkins
Start by choosing your favorite yarn and a suitable knitting needle. For a lush, chunky pumpkin, select either bulky or super bulky yarn, complemented by a US size 10 knitting needle, which is equivalent to 6.0mm in other countries.
A bit of trivia: The practice of carving jack-o-lanterns originated from an Irish folklore about a man who outwitted the devil and was doomed to wander with a lantern made from a turnip.
You’ll also require a tapestry or darning needle, plus some robust thread or butcher’s twine for assembling the pumpkin. This method ensures greater durability and reduces the risk of yarn breakage under tension, safeguarding your creation’s integrity.
The filling and the top are key components. While polyfill is a common choice, feel free to repurpose any available fabric scraps to stuff your pumpkin, which is both eco-friendly and adaptable to various sizes and uses. A cinnamon stick makes a perfect stem, adding a touch of authenticity.
Consider experimenting with an i-cord vine for an adorable twist on your pumpkin, enhancing its charm and character. This project not only allows for creative expression but also connects crafters with a rich cultural tradition, making each pumpkin a unique piece of handcrafted art.
Knitting Pumpkins in Various Sizes
Materials and Preparation:
These patterns utilize bulky or super bulky yarn. Adjust needle sizes and yarn types as needed for different textures and sizes.
Small Pumpkin Pattern:
- Start with US size 10 double-pointed needles (DPNs). Cast on 45 stitches, dividing them evenly across three needles (15 stitches each);
- Join the round carefully to avoid twisting. Alternatively, use a magic loop technique;
- Knit continuously in the round for a length of 7 inches, then bind off the stitches. Refer to the finishing section at the end for further steps.
Medium Pumpkin Pattern:
- Use a short circular needle, US Size 10 or 6mm, similar to those used for knitting hats;
- Cast on 90 stitches and knit in the round, creating a tube about 10 inches tall. Adjust the height for different pumpkin shapes;
- Complete the knitting process and proceed to the “Finishing Your Pumpkin” instructions.
Large Pumpkin Pattern:
- Choose a slightly longer circular knitting needle;
- Cast on 90 stitches. For the first round, alternate between a knit stitch and a knit front and back (k1, kfb);
- Continue knitting the expanded 135 stitches for about 13 inches or more for a larger pumpkin;
- Incorporate a decrease round by knitting one, then knitting two together across the round;
- After binding off, follow the steps in the finishing section for final touches.
Finishing Your Pumpkin:
Each pattern concludes with specific instructions for adding the final details to your pumpkin, ensuring a charming and lifelike appearance.
Creating and Finishing the Shape of Your Knitted Pumpkin
- Begin by cutting two lengths of twine or thread. The first length is for cinching the bottom of your pumpkin. Thread it through a tapestry needle and weave it through the cast-on edge. Pull it tight and secure it with a knot. If you notice a small hole at the bottom, remedy it by threading the twine across the hole’s edges and knotting it approximately three times;
- For the top part, use another length of butcher’s twine with your tapestry needle. Weave it through the stitches at the bind-off edge and cinch the top slightly. Leave it open enough to add stuffing, as this helps keep the stuffing in place during the process. Fill the pumpkin until it’s almost full, avoiding overstuffing to maintain its shape. Then, cinch the twine completely and knot securely, using multiple knots if necessary to close the pumpkin;
- Finally, use a length of yarn and pass it through the center of the pumpkin. Wrap it around the exterior, then thread it back through the middle. Adjust the tightness of the yarn to shape the pumpkin, creating as many sections or puffy parts as desired by repeating this step.
Finishing Touch: Crafting a Stem for Your Knitted Pumpkin
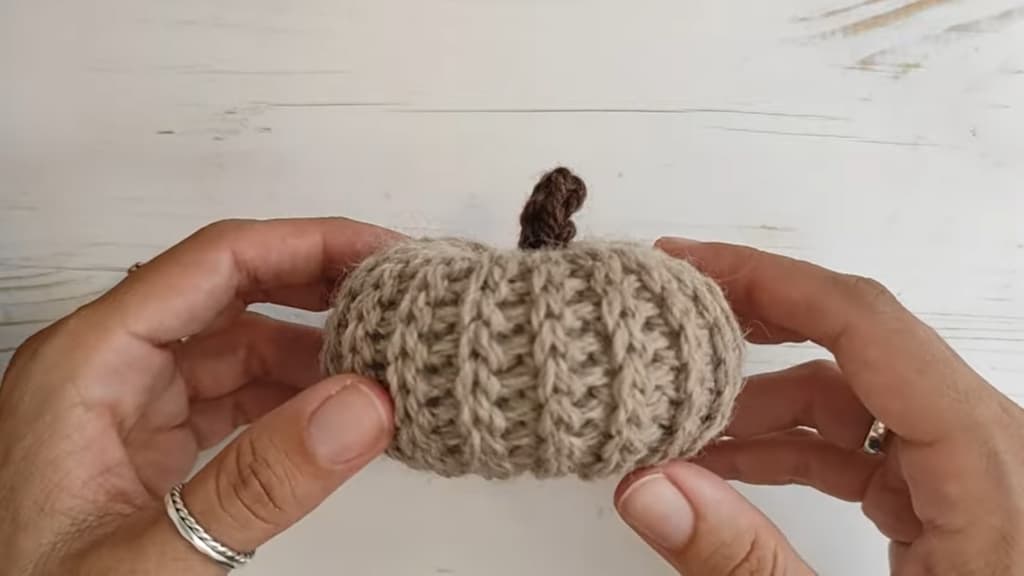
- First, prepare your glue gun and cut a six-inch section of yarn;
- Select a cinnamon stick for the stem of your pumpkin. Decide on the length you prefer for the stem; you might choose to use the entire stick or cut it in half for a shorter stem. Use scissors to gently cut and twist the stick until you can break it cleanly;
- Apply a generous amount of hot glue at the center top of your pumpkin, where the stem will be placed. Hold the stem firmly in the glue until it sets. Then, add a little more glue around the base of the stem. Wrap the cut section of yarn around the stem, tucking it under and securing it with additional glue.
Note: If you’re planning to stack your pumpkins as a display, only attach a stem to the top pumpkin in the stack.
Conclusion
As you finish crafting your DIY knit pumpkins, you’ll find they are more than just a project; they’re a delightful addition to your fall décor, bringing a warm, personalized touch to any space. Whether you choose to make a single pumpkin or a charming assortment of various sizes, these hand-knitted treasures are sure to be a favorite. They not only reflect your creativity and skill but also embody the spirit of autumn. Display them proudly on your mantle, as a centerpiece, or in a cozy corner of your home, and revel in the compliments they’ll inevitably draw. Happy knitting, and may these pumpkins add a sprinkle of handcrafted magic to your fall celebrations!