Stitch your way to elegance with knitted lace edging for shawls. This versatile edging technique breathes new life into old projects. Explore the simplicity and complexity of this method as you use it in various knitting projects. This technique is perfect for finishing shawls, sweaters, hats, and more.
Detailed Step-by-Step Guide to Knitted-On Edging
The knitted-on edging is done perpendicularly to the previously knitted stitches of your project. You can start with the same yarn color as your previous work, or add a splash of contrast with a different hue. Craft your edging with as many or as few stitches as you please. For beginners, we recommend starting with four stitches. Extend your knitting skills with the practical approach of mastering the Short Row Heel Toe Up Knitting Technique in this guide for shawl enthusiasts.
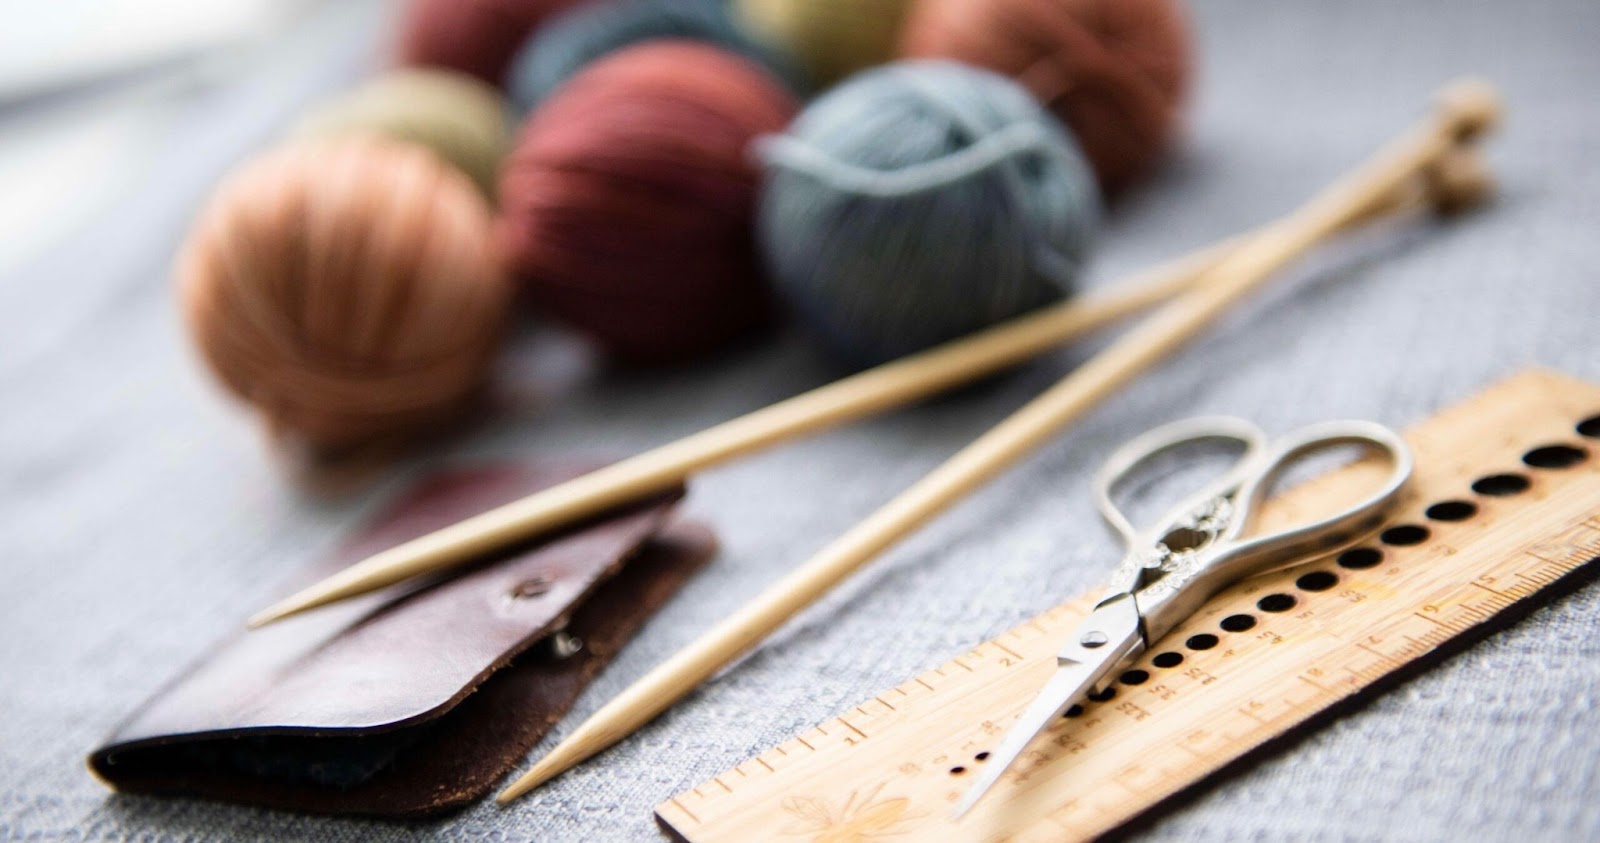
Materials Required for Knitted-On Edging
- An unfinished knitting project or swatch with live stitches on the needles;
- Knitting needles suitable for your yarn;
- Yarn for edging, preferably the same yarn used in the project.
Step-by-Step Edging Tutorial
- Cast on a new stitch but let the original stitch linger on the left needle;
- Prepare to knit another stitch by inserting the left needle into the newly cast-on stitch;
- Craft a second stitch from the first one you just knitted;
- Repeat these steps until four new stitches align on your left needle (or the number of stitches stated in your pattern);
- Now, the actual edging work begins. Start by knitting three stitches;
- Knit two stitches together (K2TOG), one from your new edging and another from the original project stitches;
- Making sure the yarn is on the non-visible side of your design, turn your work. Slip the first stitch from the left needle to your right needle as to purl;
- Bring the yarn through the needles and to the right side of your work;
- Knit three stitches;
- Turn your work and repeat instructions from step 5 to step 9 until all live stitches have been worked upon;
- To finish, bind off all stitches on the final non-visible side row. Seam the cast on and bind off edges if needed.
Congratulations! You’ve finished the knitted-on edging. But why stop there?
Incorporating Lace and Cable Designs in Knitted-On Edging

Incorporate lace and cables into your edging to add a hint of complexity and appeal. By alternating between plain and patterned rows, you can create a stunning effect. The key is to establish a rhythm in your knitting and maintain it throughout your edging process.
How to Choose the Perfect Yarn for Knitted Lace Edging
Choosing the right yarn for your edging can elevate your knitted piece’s overall look. Consider factors like color, texture, and weight. A heavier yarn can weigh down your shawl, while a lighter yarn may not add enough definition to the edging. Experiment with different yarns to find what works best for your project.
Conclusion
Mastering the knitted lace edging technique can transform your knitting projects from ordinary to extraordinary. Remember, practice makes perfect. With patience and creativity, you’ll be able to create beautiful, intricate edgings that will make your shawls stand out from the crowd.
Achieving expert-level precision in crafting knitted lace edging for shawls is a rewarding endeavor. By mastering this versatile technique, knitters can enhance their projects, from shawls to sweaters and hats, with fine, intricate detailing. The step-by-step guide, tips, and insights shared in this comprehensive guide serve as a roadmap for both beginners and seasoned knitters who wish to level up their knitting game, adding a touch of elegance to their creations. Remember, creativity is paramount in this craft and consistent practice, exploration, and learning are the keys to mastering the delicate art of knitted lace edging.