Our journey to mastering Emily Ocker’s Circular Cast On method starts with the discovery of its application in the famous “Knitter’s Almanac” by Elizabeth Zimmermann. Originally designed for creating the renowned Pi Shawl, this cast-on technique has proven its utility over time, sharing a close resemblance to the crocheted Magic Ring Cast On popular in making stuffed crochet animals.
This fascinating method is executed by crocheting stitches around a loop, permitting you to adjust the center’s tightness to achieve a perfectly closed center. The beauty of it all lies in eliminating the unattractive appearance of a gaping hole or the nagging puckering effect that could distort the fabric of your work.
It is worth noting that Emily Ocker’s Circular Cast On employs some crochet terminologies. Clear explanations will be provided in this guide, but if you wish for more precision, Planet June offers excellent tutorials tailored for both right and left-handed crochet enthusiasts. It’s all about ensuring you grasp every step of the process in the most understandable manner.
Supplies Needed
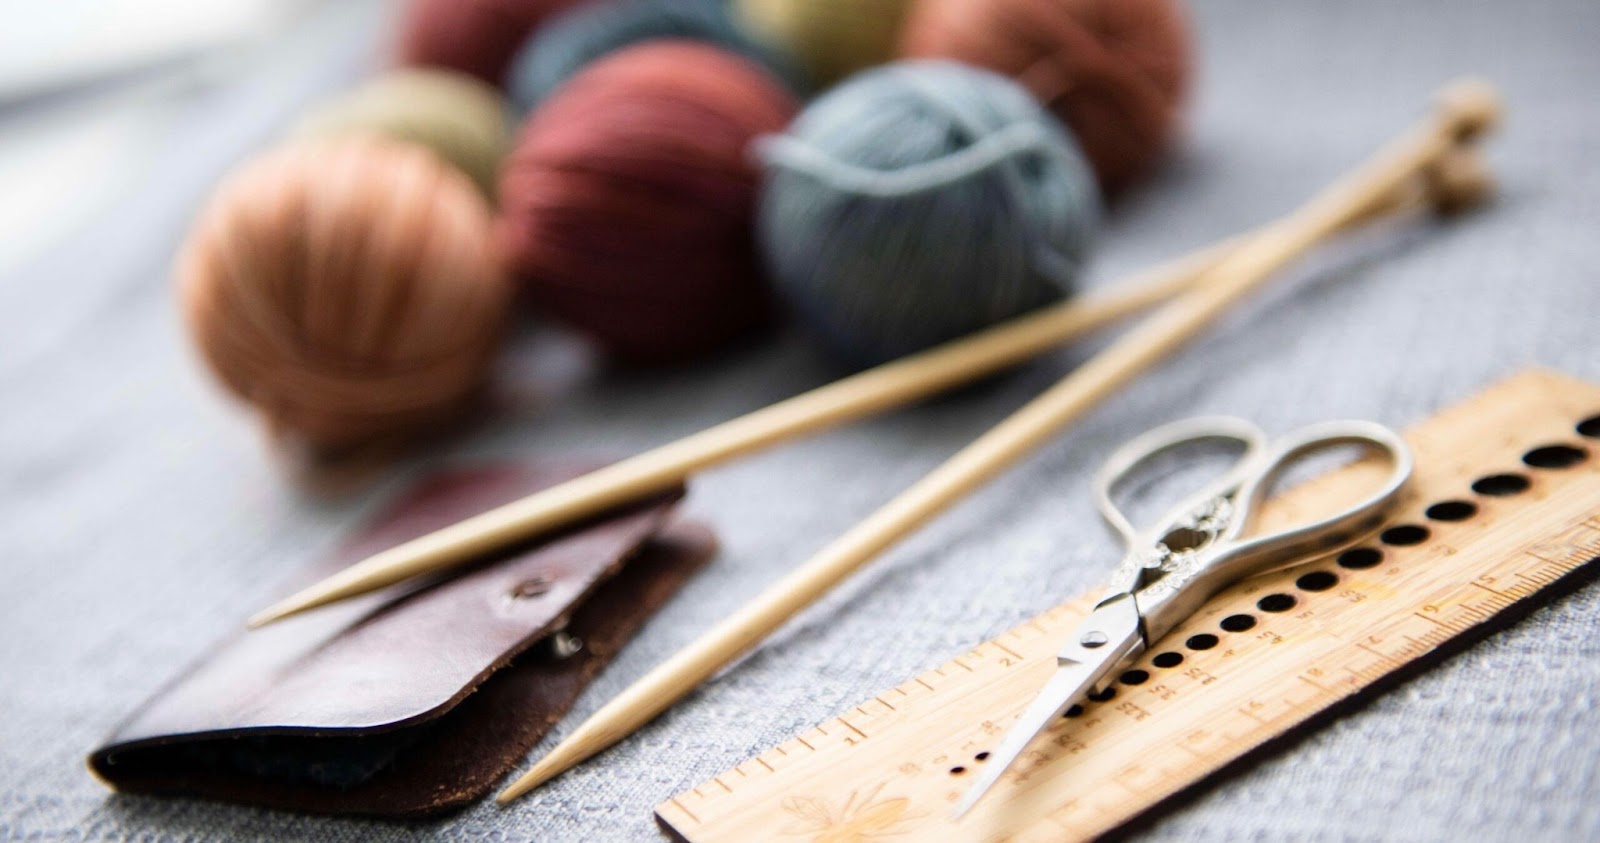
For a successful execution of Emily Ocker’s Circular Cast On, you’ll need a few supplies:
- Yarn: Pick a quality yarn that suits your project;
- Double-pointed Knitting Needles (DPNs): Ensure the DPNs are appropriate for your selected yarn;
- Crochet Hook: This should also match with your yarn selection.
Throughout your encounter with Emily Ocker’s Circular Cast On, remember practice makes perfect. Each attempt is a step closer to knitting mastery. It not only enhances your technical proficiency but also expands your creative potential. So, grab your knitting supplies and let’s embark on this remarkable journey together.
Unleashing the Magic: A Step-by-Step Guide to Emily Ocker’s Circular Cast-On
Mastering the First Steps of Emily Ocker’s Circular Cast-On
1. The First Move Let us start with the yarn in your working hand. Create a circle where the yarn overlaps itself. Secure the intersecting spot gently with your thumb and index finger. Ensure the end of the yarn loosely dangles downwards. We’ll denote this as the primary circle.
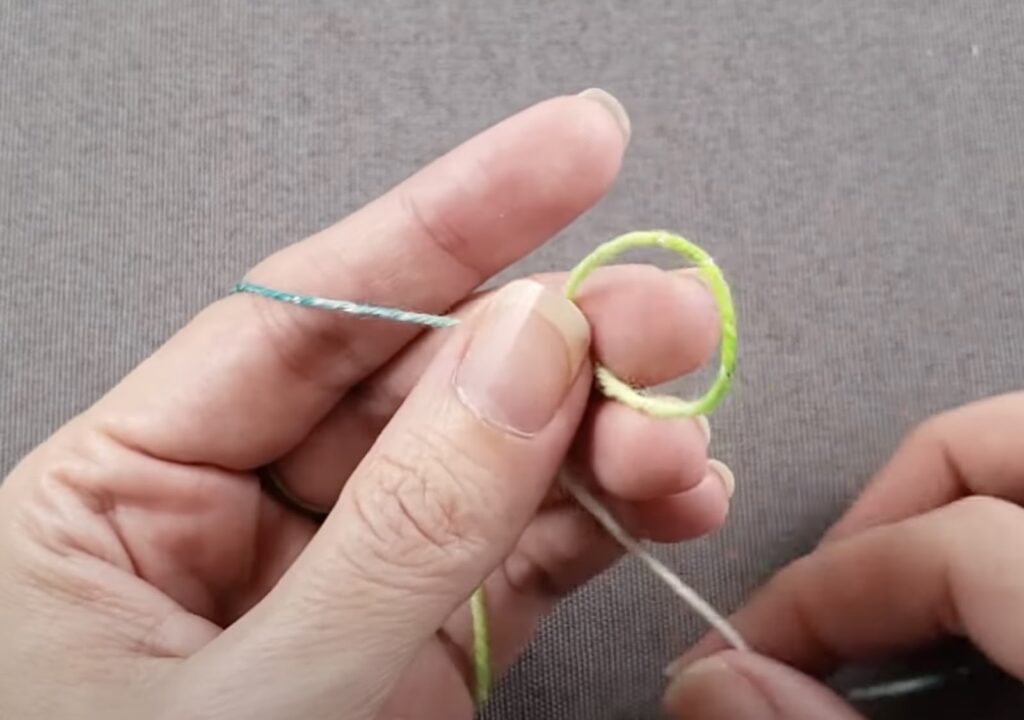
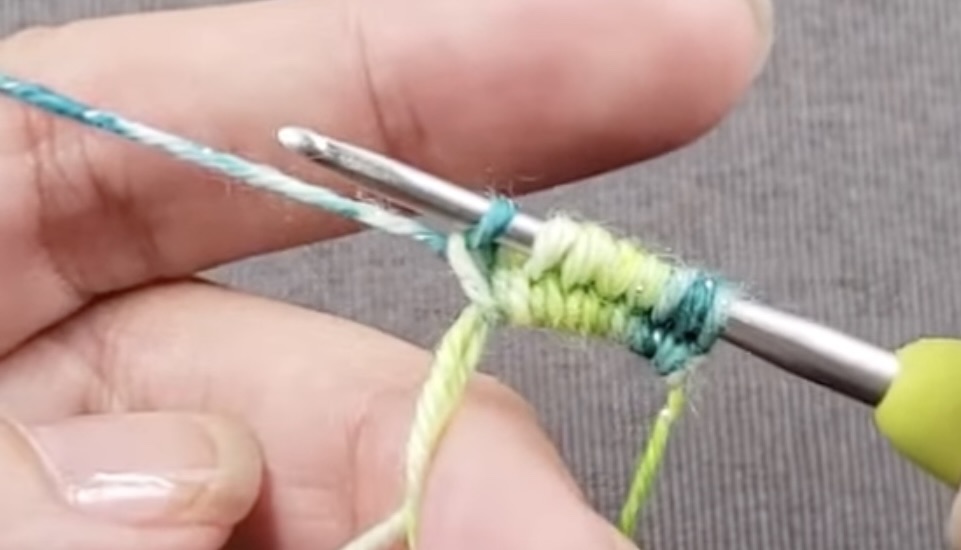
2. Piercing through the Primary Circle Now, direct your crochet hook from the front all the way through to the back of this primary circle you just made.
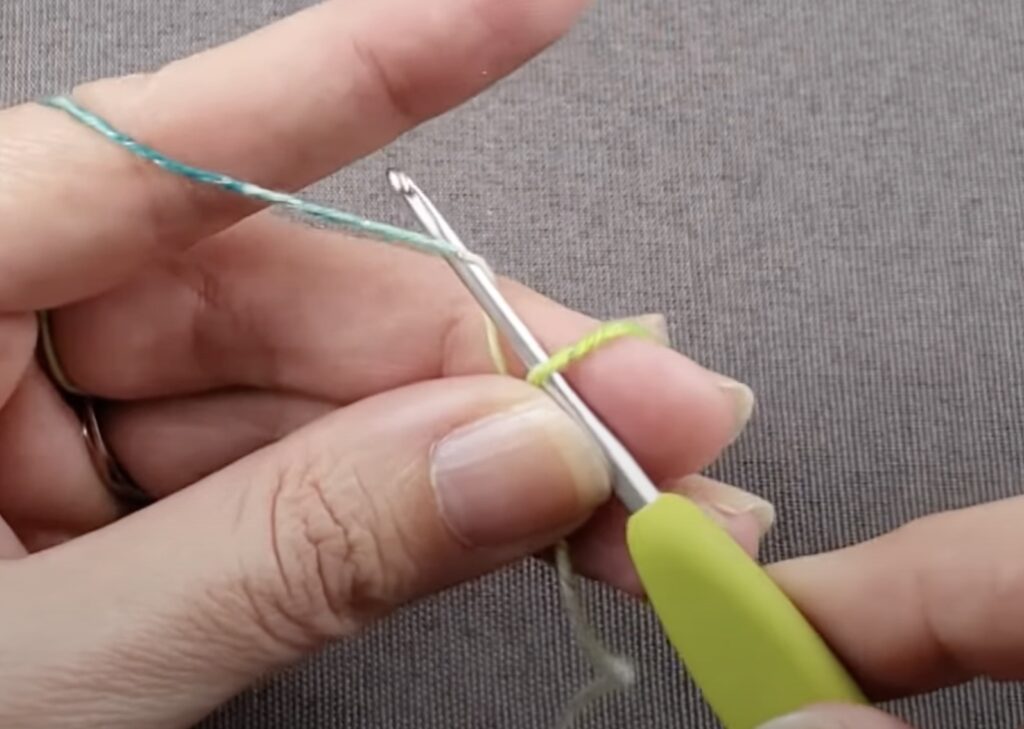
3. Formation of the Initial Chain In this step, the crochet hook comes in handy. Catch a part of the yarn with the hook and guide it through the primary circle. It’s quite akin to crafting a crochet chain.
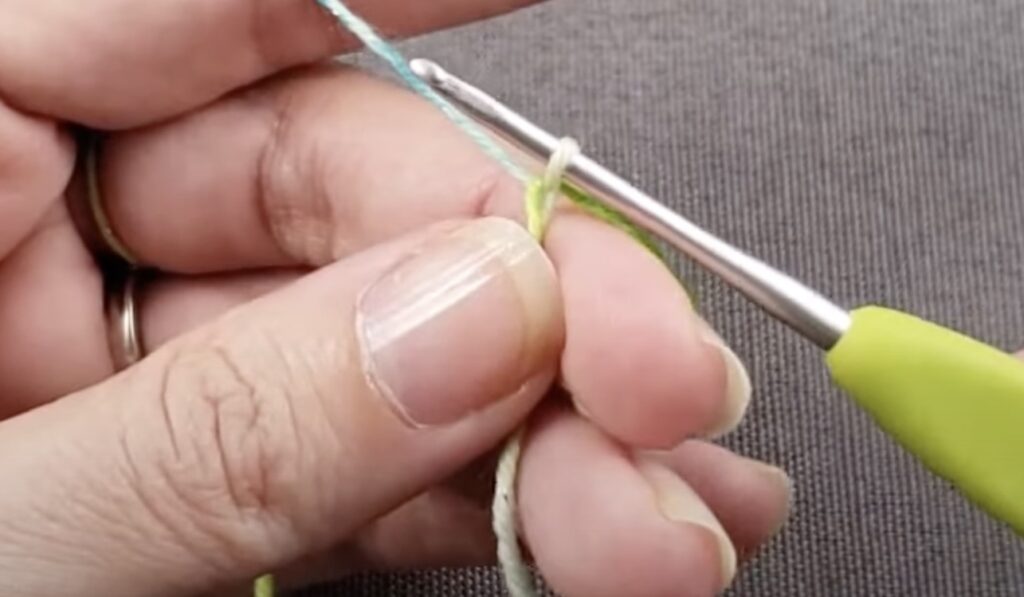
4. Developing a Second Chain Next, with the crafted loop still on the hook, grab another part of the yarn with your hook and draw it through the first loop to form another chain.
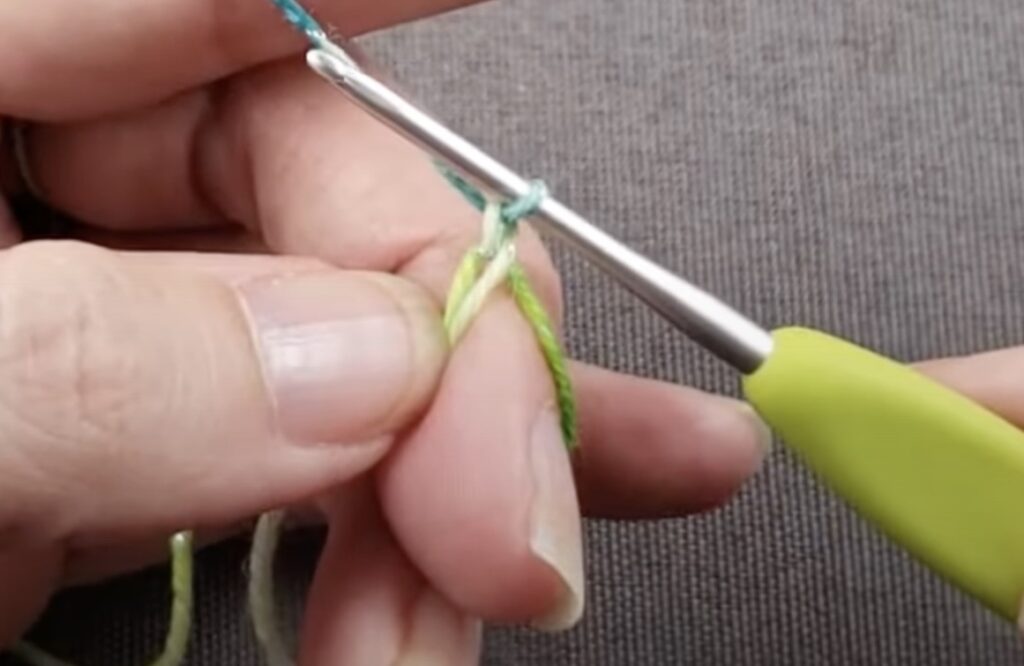
5. Loop and Chain Repeat Maintain the newly formed loop on the crochet hook. Go on repeating the previous two steps (formation of the initial and second chains) until you’ve reached the desired amount of stitches on your hook according to your chosen pattern.
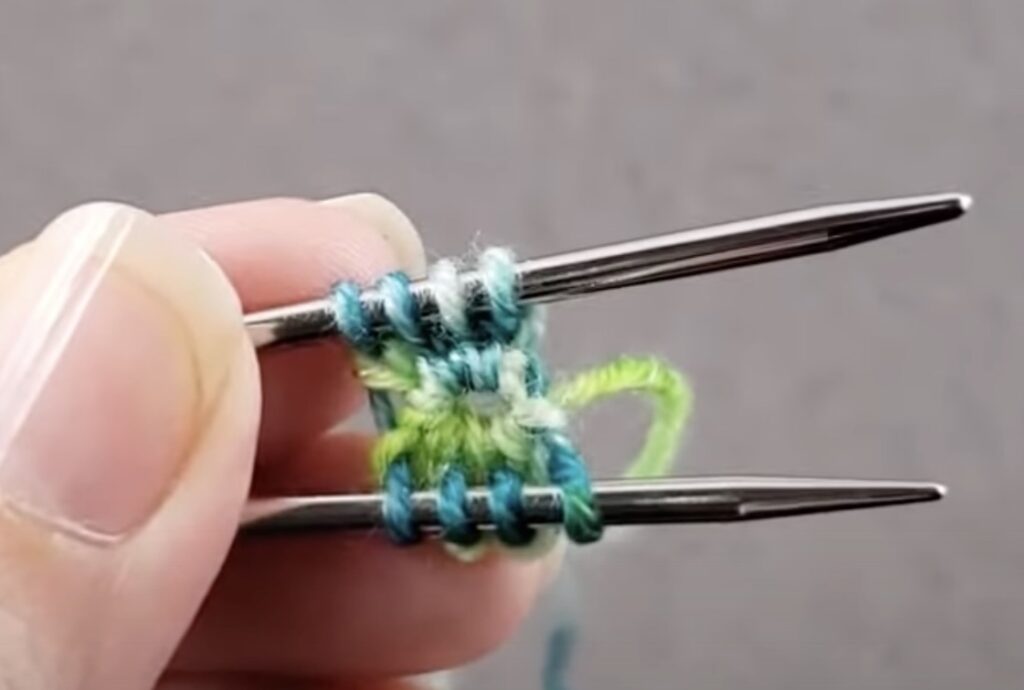
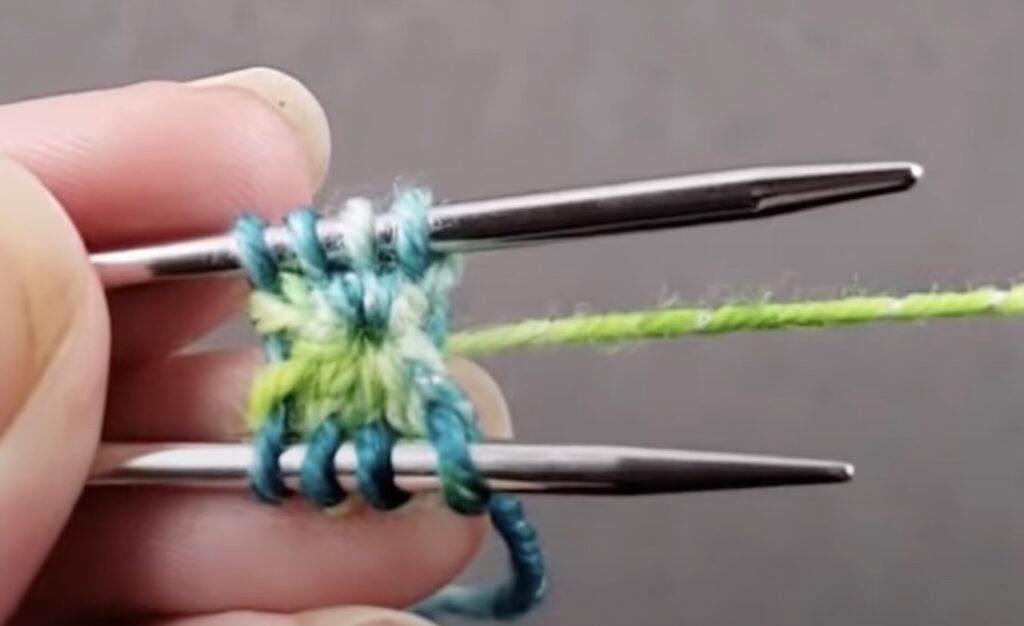
6. Stitch Distribution With your stitches on the hook, it’s now time to transfer them onto 3-4 double-pointed knitting needles (DPNs). The division of stitches should be even across your DPNs. This sets the stage for your pattern instructions.
7. Tightening and Continuation Finally, pull on the loose end of your yarn to tighten the center of your work. From here, follow through with your pattern instructions continuously.
Let’s sum it up
Here we have it, a comprehensive guide through Emily Ocker’s Circular Cast-On, the magical doorway to the world of seamless knitting. As you progress in your knitting journey, remember that mastering any technique requires a combination of patience, practice, and perseverance. Keep refining your skills, and before you know it, you’ll be creating beautifully intricate knitting projects with ease. Happy knitting!