Add an extra layer of excitement and texture to the art of knitting by mastering the creation of bobbles. These delightful knit bubbles can easily and effectively elevate your knitting projects, adding a unique touch of creativity and personality to your handiwork. Upgrade your knitting with bobbles for added excitement. Explore the comprehensive guide to master SSK Knitting for expert insights on elevating your craft with creative techniques.
The Art of Knitting Bobbles: A Brief Overview
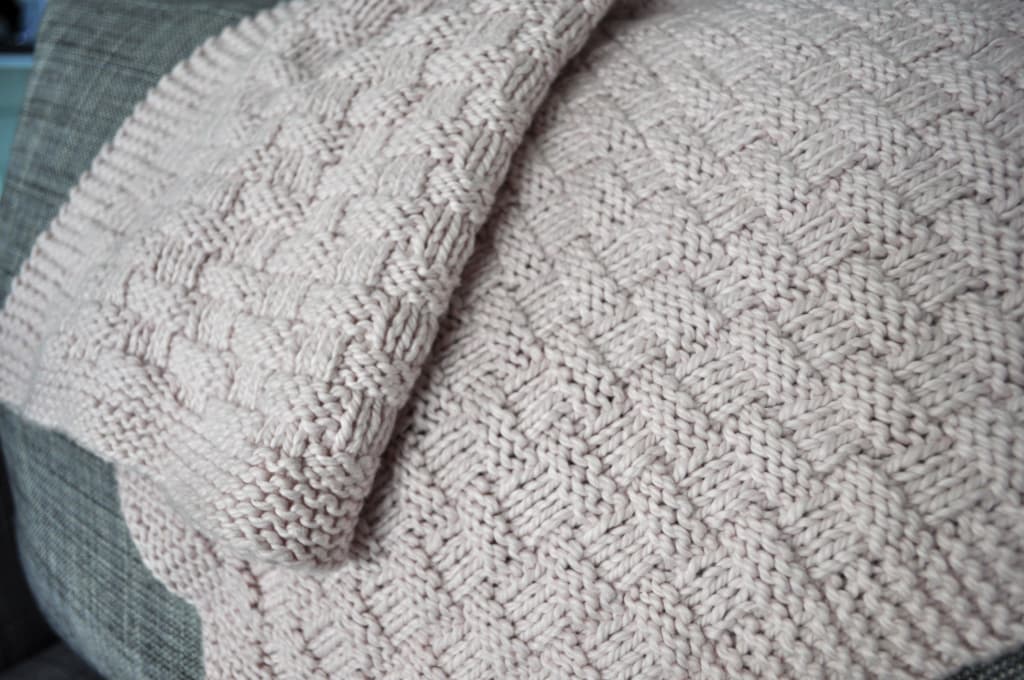
Bobbles, or textured bubbles, in knitting are primarily formed through a process of rapid stitch increment, quick short-row knitting to produce a small fabric flap, and an immediate reduction in the number of stitches to match the original count. The swift sequence of increment and decrement in stitches prompts the excess fabric to bunch up and protrude outwards, giving rise to the characteristic bubble-like feature of the knit fabric.
Essential Tools for Knitting Bobbles
For a successful bobble knitting experience, the following supplies are needed:
- An ongoing knitting project with live stitches on the needles;
- Knitting Needles corresponding to the yarn size.
Step-by-Step Guide to Knitting Bobbles
- Step 1: Proceed with the initial project pattern until you reach the stitch where the bobble will be added;
- Step 2: In the next stitch, perform a knit 1, yarn over, knit 1, yarn over, knit 1. (This step increases the number of stitches from 1 to 5. The rest of the bobble will be developed over these 5 stitches.) Rotate your fabric;
- Step 3: Knit 5 purl stitches. Turn your work;
- Step 4: Craft 5 knit stitches. Flip your fabric;
- Step 5: Knit 5 purl stitches. Rotate your work again;
- Step 6: Transfer 3 stitches to the right needle as if you were going to knit them all together, knit 2 stitches together (k2tog), and slide the 3 slipped stitches over the k2tog stitch and off the right needle. You are now back to the single stitch, and a bobble is formed;
- Continuation: Repeat the pattern until you reach the point where another bobble needs to be added. Perform steps 1-6 for the remainder of your pattern.
Reinforcing Your Skills: Practice Tips
Consistent practice is key to perfecting the art of knitting bobbles. Experiment with different yarn types and needle sizes to understand how they impact the size and texture of the bobbles. Remember, patience and persistence are your allies in this creative journey.
Adding Personal Touches: Customizing Your Bobble Pattern
Knitting bobbles lends itself to creativity and customization. Experiment with different bobble placements or varying numbers of stitches in a bobble. Try incorporating bobbles into different types of knitwear, including scarves, sweaters, and even blankets.
Conclusion
Expanding your knitting repertoire to include bobbles can add a unique, textural element to your projects. With this comprehensive guide, you’re well on your way to mastering the bobble and adding an extra layer of personality to your knitted creations. Have fun exploring these new textures and patterns, and remember, the beauty of knitting lies in the endless possibilities for creativity and innovation.
By now, you should have a clear understanding of how to incorporate bobbles into your knitting projects. Not only will this new skill add depth and personality to your creations, but it will also open up a new world of textural possibilities. With patience and practice, your hands will soon be creating these delightful textural pops effortlessly. Remember to have fun with your projects and don’t be afraid to experiment with different bobble placements and patterns. The beauty of knitting lies in the freedom to express your creativity, and the addition of bobbles is an excellent example of this.